Skip to main content
If you continue browsing this website, you agree to our policies:
General usage policy
Continue
x
Print this chapter
Lesson 3: Treatment
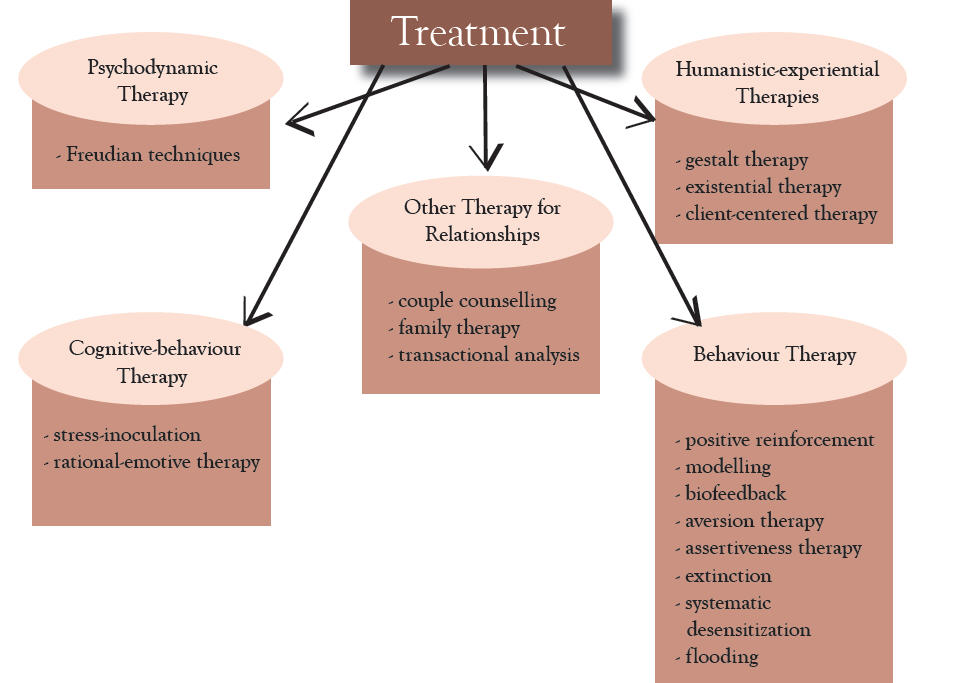
Figure 13.1: Treatment