Module 3
1. Module 3
1.7. Page 2
Module 3: Linear Measure
Get Started
In the following Try This activity you will review the circle.
 Try This
If possible, work with a partner to complete this activity.
Step 1: With a pen or pencil, trace the outline of a circular object, such as the lid of a jar, on a blank piece of paper.
circumference: the perimeter of, or the distance around, a circle
semicircle: half of a circle
The distance around this circle is called the circle’s circumference.
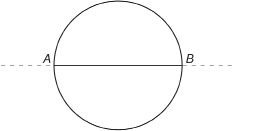
Step 2: Hold the paper up to the light. Fold the paper in two so that the circle is divided into two halves. When you open your sheet of paper, you will see a crease dividing your circle into two semicircles. Label the points A and B where the crease cuts the circle.
diameter: a line segment that divides a circle in half
A diameter of a circle passes through the circle’s centre point.
Step 3: Take your pen or pencil, and trace over the crease from point A to point B. Segment AB, which divides the circle into halves, is called a diameter.
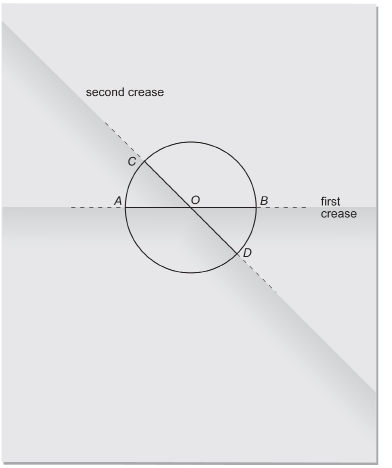
Step 4: Fold the paper a second time to form a second diameter. Label this diameter CD. Label the point where CD crosses AB, O.
centre: a point of a circle that is at the circle’s middle
radius: a line segment that joins the centre of a circle to a point on the circumference of the circle
The centre of the circle, O, is where the two diameters cross. Segments OA, OB, OC, and OD are radii. A radius is a segment that joins the centre of the circle to a point on the circumference of the circle.
Step 5: Label your diagram, illustrating the centre, a radius, a diameter, and the circumference. Place your labelled diagram in your course folder.